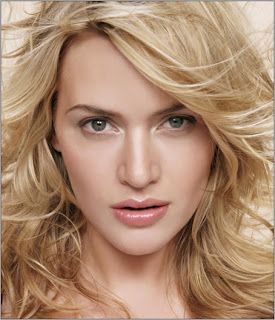
Now lets start this is my raw photo(My exgirlfriend) :

1-First duplicate the Background Layer (Ctrl+J) then inverse the colors by pressing (Ctrl+I)
2-Click on Ctrl+U or go to Image>Adjustments>Hue/Saturation then:
3-Now go to Image>Adjustments>Exposure then: (these settings are changeable depending on you raw image brightness and exposure you cane change them until you get the next result )
4-Now duplicate Layer 1 the change the setting of the new layer to Overlay :
5-Click on Ctrl+U or go to Image>Adjustments>Hue/Saturation then:
6- Now go to Image>Adjustments>Exposure then: (these settings are changeable depending on you raw image brightness and exposure you cane change them until you get the next result )
7-Now go to Filter>blur>Radial Blur then :
8-Now duplicate the background layer (Ctrl+J) then drag it up like this:
then change it blend mode to Hue and its Opacity to 50
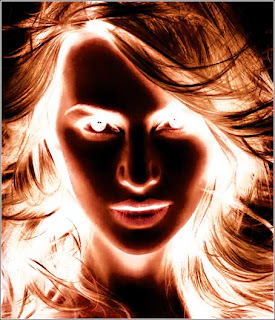
And this is the final result:


0 comments:
Post a Comment